


'A' Frame Tent Covers...
... at a great price!

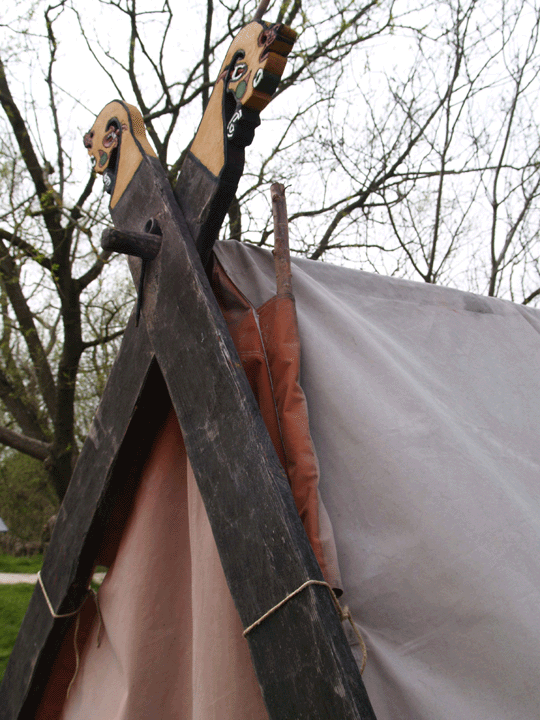
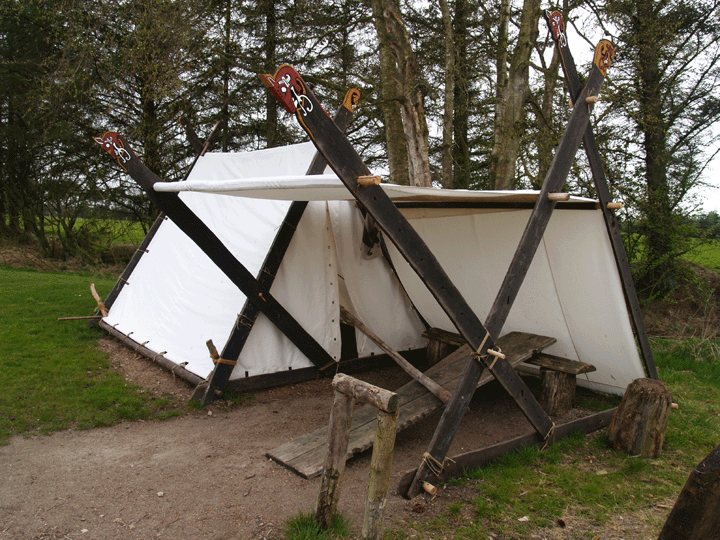
Anyone in the Viking Age re-enactment circle who is needing a tent might look at this:
I have known David casually for a number of years. He has been behind the War of 1812 events up at Penetanguishine. This will be the real deal, you can't beat the price!
These tents are a bit small, but can easily be re poled for a classic A frame. Looking at the images, a bit of modification would be required, with a hole cut in front and back at the peak for an externally mounted frame.
This is an excellent deal for anyone looking for a primary (or even second storage) tent. The poles that come with it are perfect for any Settlement Era encampment as well. For that price you could not even buy the fabric!
Darrell

----- Original Message -----
From: "DAVID BRUNELLE"
Sent: Friday, February 13, 2009 9:00 PM
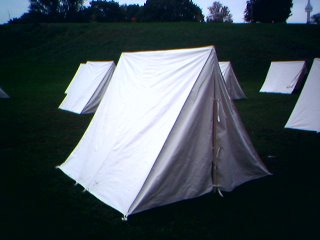
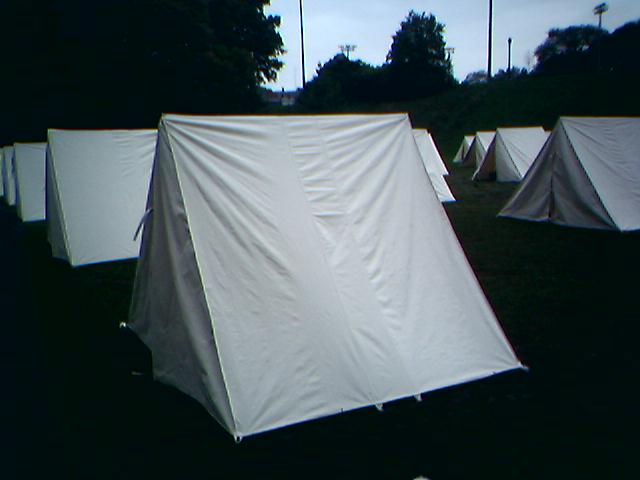
Subject: Wedge Tent Blow-Out Sale #3
I have acquired another 70, yes 70 wedge tents that are ready for re-sale.
For those who remember, I formed a partnership with an artist from Toronto
who is using wedge tents as part of his art expositions. We have done shows
in Toronto, New York City and our latest show in Ottawa this past fall. The
tents were only used for 3 days in Ottawa and are brand new. This lot of
tents are taller and longer then the 2 previous lots that I had acquired. I
am selling the tents for $190.00 each including poles
and spikes. The tent specifications are as follows:
9 Feet Long
7 Feet High
8 Feet Wide (At Bottom)
9 Webbing Loops
Sun Forger Treated Canvas
10.38oz Canvas
1 Pine Ridge Pole
2 Pine Uprights
9 Modern Spikes
Straight Back (No Bell)
The tents have solid backs with one door.
If you have any questions let me know ... Payment guarantees a tent. If you would
like to be put on the tent list let me know and you can forward your payment
to the address below. I also take paypal and other forms of e-payments.
Shipping and handling is extra if needed.
I will be attending the Living History Conference in Hamilton on February
27th & 28th and will bring tents for those who are attending or have made
arrangements with friends to pick them up.
David J. Brunelle
23 Byrnes Crescent
Penetanguishene, ON, Canada
L9M 1W4
Cell - 705-716-7124
davidbrunelle@rogers.com
Anyone in the Viking Age re-enactment circle who is needing a tent might look at this:
I have known David casually for a number of years. He has been behind the War of 1812 events up at Penetanguishine. This will be the real deal, you can't beat the price!
These tents are a bit small, but can easily be re poled for a classic A frame. Looking at the images, a bit of modification would be required, with a hole cut in front and back at the peak for an externally mounted frame.
This is an excellent deal for anyone looking for a primary (or even second storage) tent. The poles that come with it are perfect for any Settlement Era encampment as well. For that price you could not even buy the fabric!
Darrell
Labels: announcements, campware
posted by the Wareham Forge at
8:09 AM
0 Comments
![]()
![]()

